Use the Operatory Monitor
|
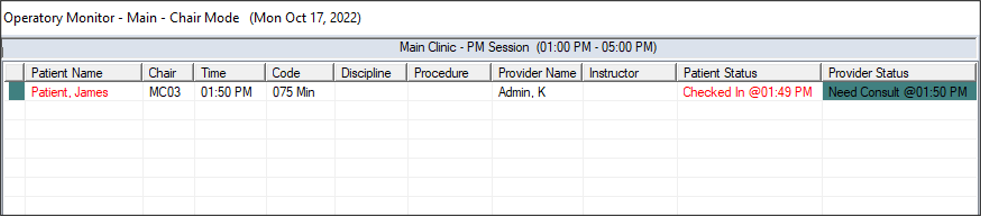
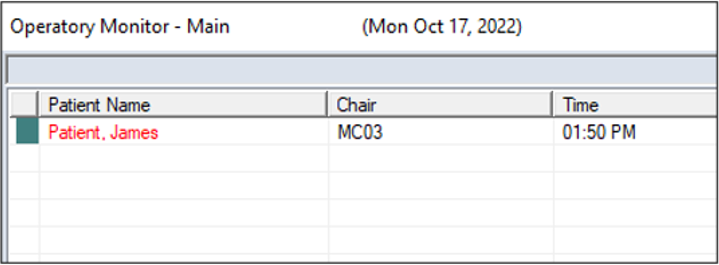
The Operatory Monitor allows you to track the status of appointments, follow patients through their clinical experience, and display alerts for staff and faculty when a provider needs assistance but must remain with the patient. These alerts are controlled by clinical notification states set by providers from their workstations. Each state is color-coded and ranked according to urgency to provide information to faculty and staff and help them see where help is needed and prioritize, depending on the severity of the situation. Tip: The alerts also display in FacultyAccess. The Operatory Monitor can be used at the front desk to check in patients and monitor patient flow or be displayed in a central location to alert staff / faculty to critical needs and clinical progress. Examples: In an academic environment, a student can update their status, indicating a need for approval. In a professional clinic, a hygienist can signal a need for a dentist to consult with a patient. The Operatory Monitor can run in one of two modes:
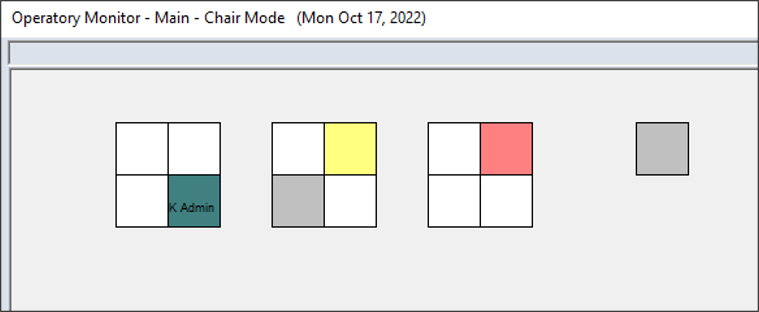
Note: A chair can be divided when two appointments are scheduled within a time range. Time ranges are managed from the Operatory Monitor Options window > __ Minutes Before Current Time and __ Minutes After Current Time fields.
There are two types of status that can be indicated by color in the Operatory Monitor:
To use the Operatory Monitor:
Tip: You can also access the Nav Panel > Clinical Management section > drop-down arrow ( Note: Some workstations such as wall-mounted displays may be set up to open directly to the Operatory Monitor on launch and display the Operatory Monitor all the time. This is managed from the Operatory Monitor Options window > Mounted Mode field and the Desktop Settings window > Startup Module (Override) field.
Tip: You can use the + / - buttons or slide bar to zoom in or out.
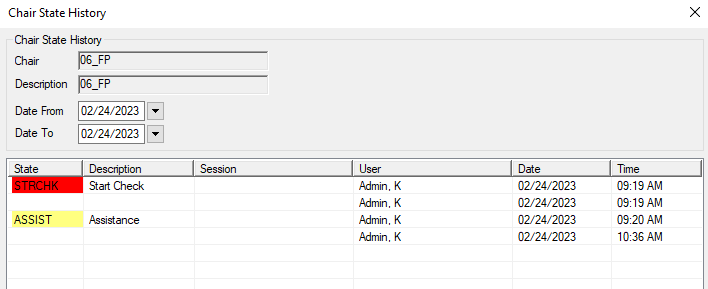
The color of the notification displays on the Operatory Monitor to signal that you require assistance. Tip: It also displays on the status bar and in FacultyAccess. The notification no longer displays on the Operatory Monitor and the clear notification color displays on the status bar and in FacultyAccess.
|